https://blue-heron-dolls.ck.page/posts/i-think-i-ve-done-it
Digital Doll Course is Launched!


I'm just home after teaching my first doll class in a very long time.
http://indyclothdollmakers.blogspot.com/2023/03/enigma-class-with-deanna-hogan.html


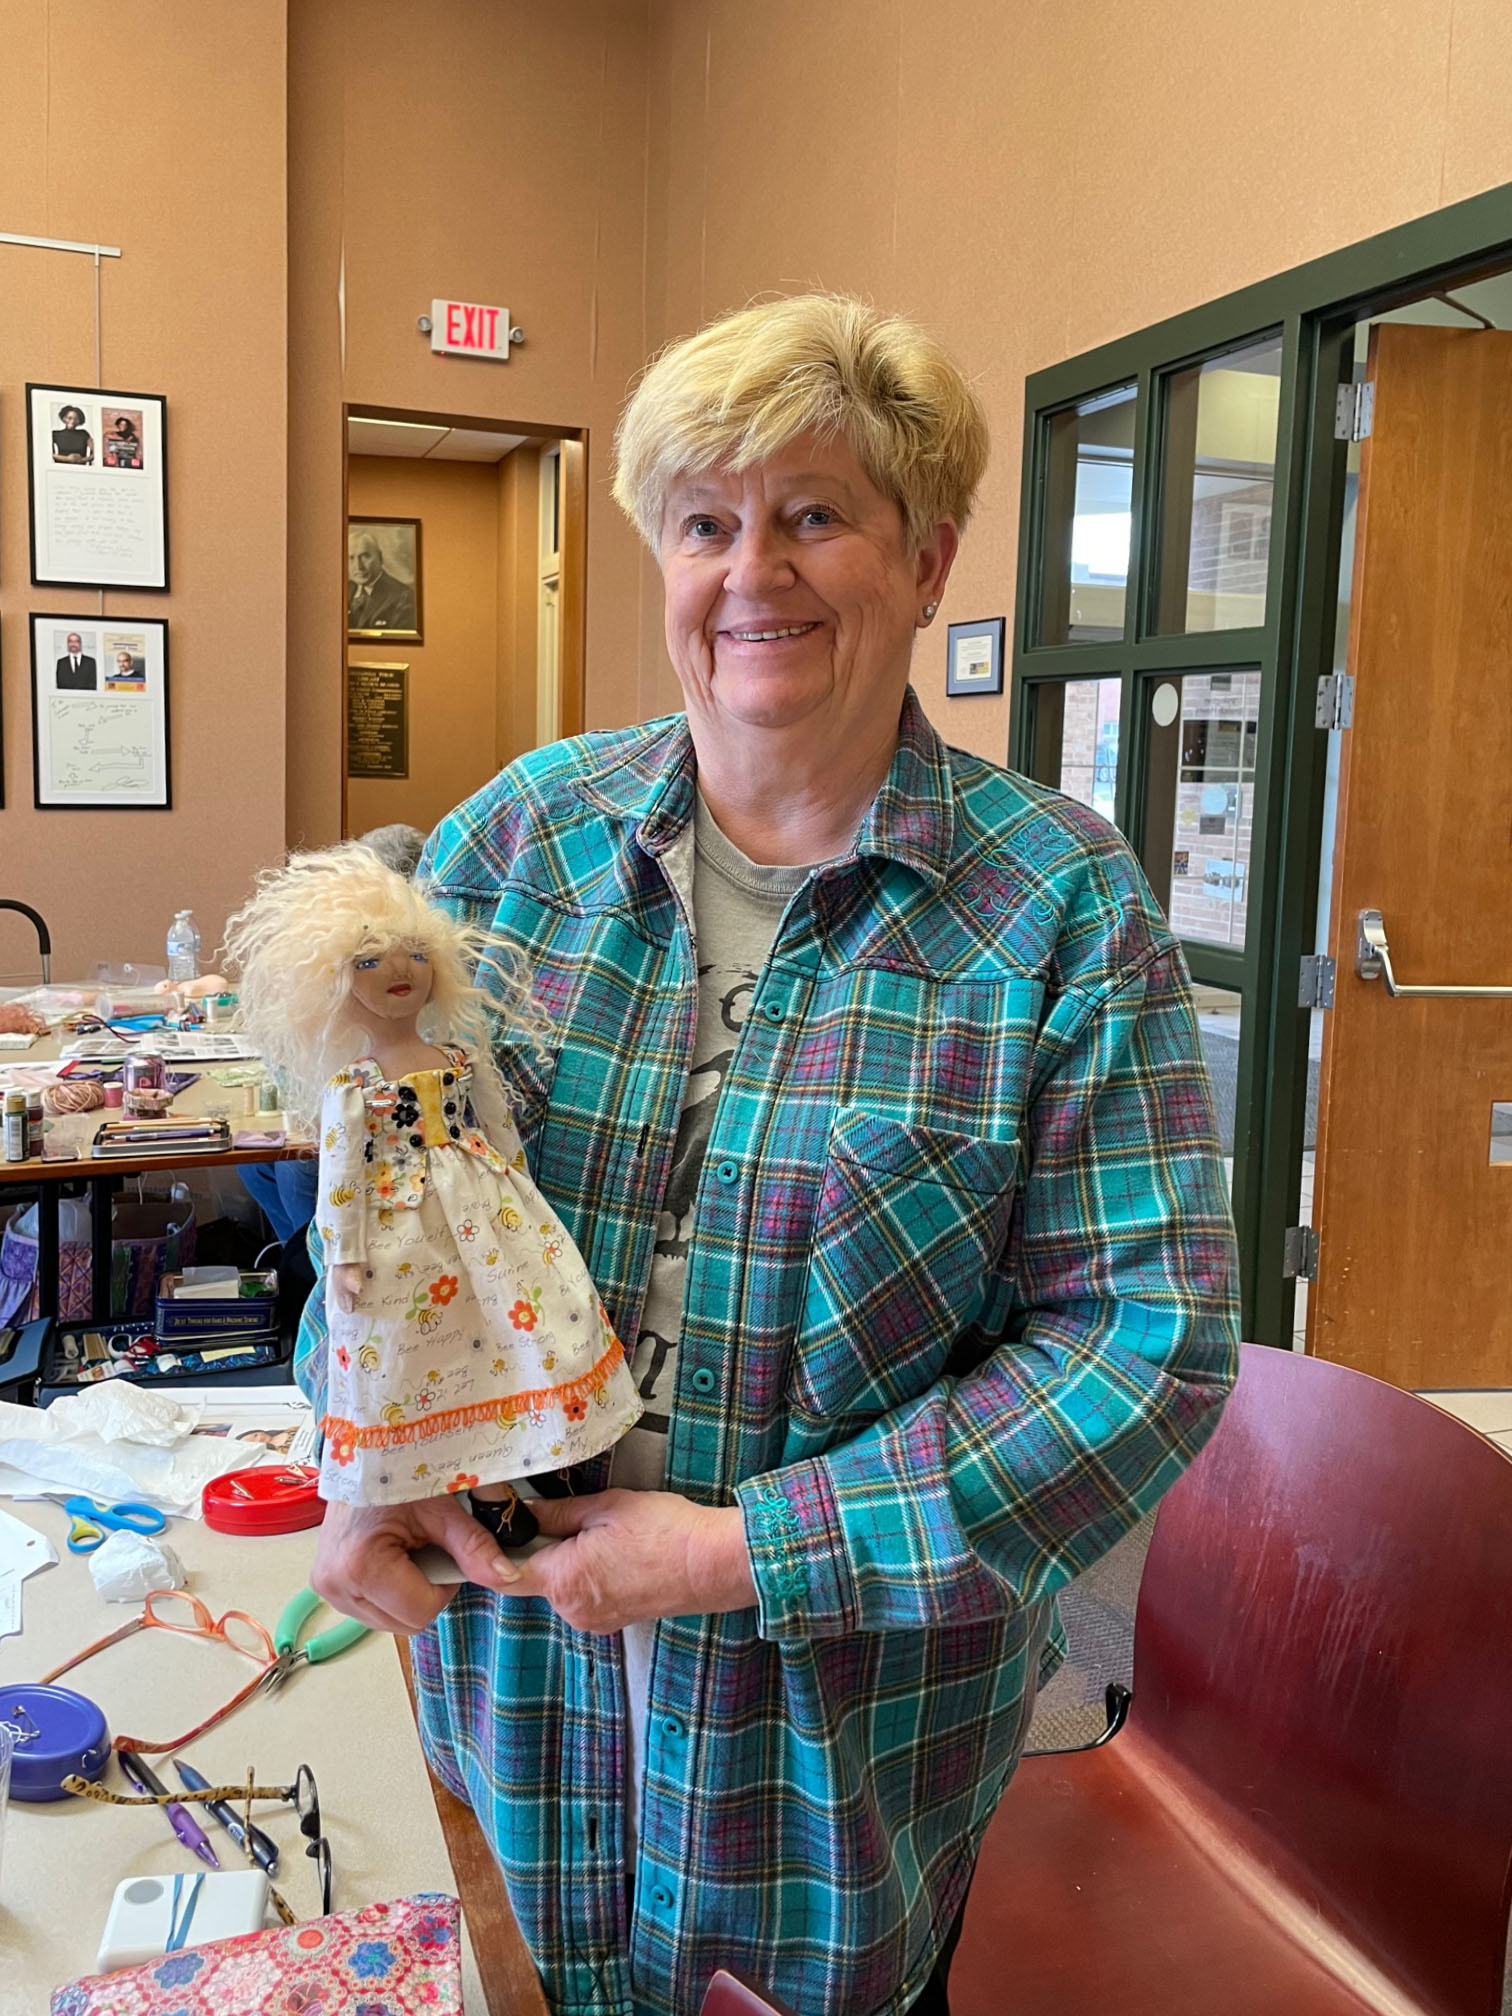
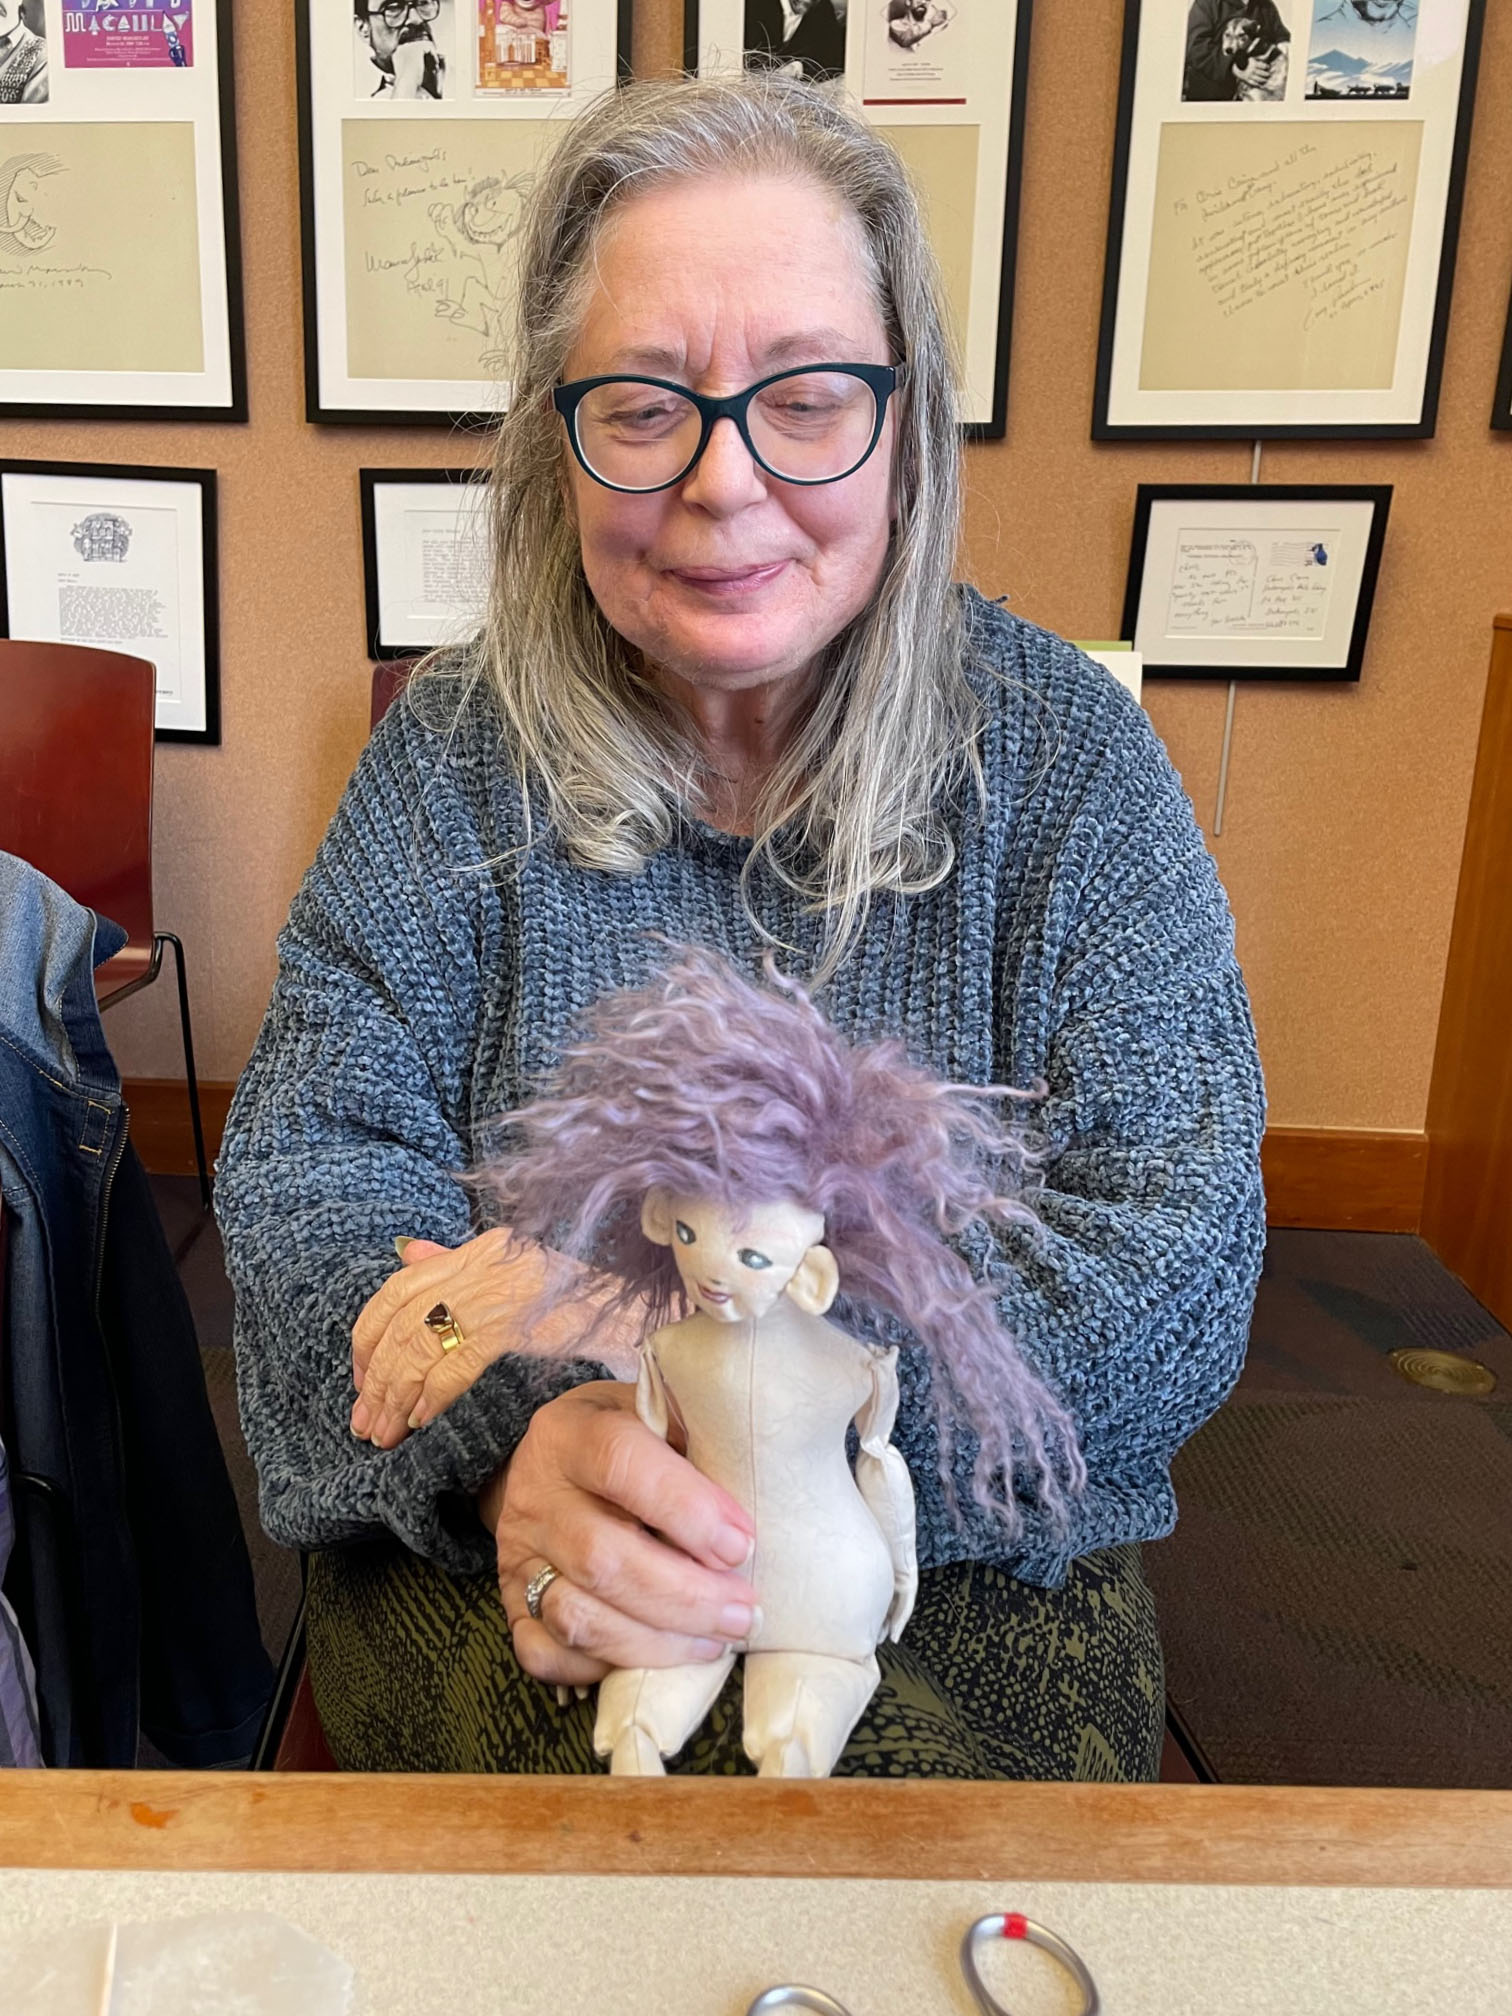


 Here's Sally #3, done except for her hat and chemise. I had to use an alternate location to photograph her, as there's a grandchild napping in the photo room. This doll's hair is made from alpaca roving - and it sure had a different feel than the camel. The overall fiber length seemed shorter, and obviously it wasn't as coarse.

 Addendum: For those who have experienced the drawback of using polymer clay faces due to the weight and density of the clay, don't forget to make the back a little bit concave. This occurs naturally, if you use your thumbs to firmly press the center of the clay into the pressmold. By doing this, you make sure the clay goes into the facial features of the mold, making the concave indentation, and squishing clay out along the rim - which is the perfect handle by which to grab the clay and gently work it out of the mold. Of course, you'll trim away the excess. These faces now weigh just over an ounce.

 I've been working most of the day on finishing Sally #2. The only thing left is her hat and sign. The pattern instructions are done up to this point as well. I also decided at the last minute to add instructions for a simple doll stand. It's not perfect, but works for the most part. I'm currently up to 20 pages. Hopefully I can keep the total number of pages at 22, plus the color insert.
 This doll is 17 1/2 inches tall, including the stand. After the hat is sewn, I've got to start drawing the final pattern pieces onto printer paper. I'll have to use 8 1/2 X 14 inch paper for the dress, which is kind of a pain, but it'll be easier for folks to trace from that than tape the pieces together if printed on 8 1/2 X 11.
 Finally finished Suffragette Sally's outer costuming today, completing her hat and sign. This is the second hat of the day and it's still a wee bit tight, but I managed to fit it on her head. I've made the necessary adjustments to the pattern for the next doll.
 Now to move on to her undergarments and some pattern variations - individual wired fingers, for example.


 I taught my first in-home class this weekend. I had three students, and sewed along with them. What a pleasure, not having to lug all my stuff to a different location (and hope I didn't forget anything!)
 From left to right are Roxanne, Ginger, and Rhoda. Wish I could say the dolls were completed in class, but we were able to focus on the trapunto style face (and attaching it to the head), the hinge joints, the shoes, and the face sculpting and painting.
 I also shared my "system" of logging/recording the dolls I've made. From my very first doll, they've all been recorded in a notebook. Each doll/entry is numbered and dated. The entries in the log include a description of the doll, the pattern used, size, etc. Once the doll's been sold or given away, the entry is highlighted yellow.
In about 2004, I saw a similar journal up for auction on eBay. This was Edith Flack Ackley's journal, and she included a little snippet of the fabric she used for each doll's dress by their corresponding entries. I thought that was a great idea, and started doing that myself.
 This very active doll club has a Picturetrail account, where more of their dolls can be seen. Here are photos taken during class and their individual Verity dolls.
Thanks, Ladies!
 Today, I'll apply Messy Mix to all but one of the dolls. That one will remain as-is (the doll on the left), in order to demonstrate the needle sculpting. The doll on the right will be finished up to the facial features, which will be done in class.
 Last week I taught a class in Moro, Oregon. Moro is a city in Sherman County, and is the smallest county seat in Oregon. To paint you a picture, the population was 337 at the 2000 census. The drive along the Columbia River Gorge was was beautiful, and after turning off onto highway 97, I was delighted with the rolling expanses of fields with windmills used to generate power.
 Packing up probably more gear than needed, I'll be leaving later this morning to teach my "Viola Ruth" class in Moro, Oregon at http://www.lisasstitches.com/. This class will be small, and held in Lisa's quilt shop. Sounds ideal, doesn't it?
 I had the opportunity to teach my Viola Ruth (Alabama Baby inspired) doll class in Auburn this past weekend, and had a great time. While the doll is a simple one, making the clay heads and covering them with fabric and multiple layers of paint takes time and patience. Photos are starting to come in, so check the link below from time to time: